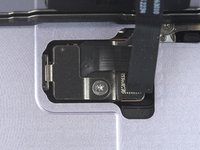
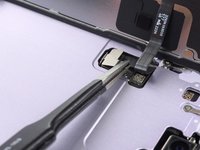
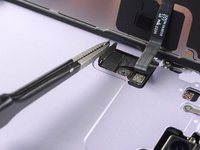
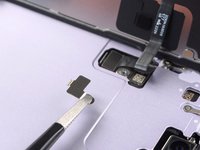
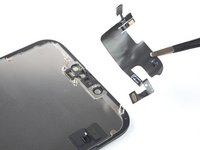
iPhone 14 Plus Screen Replacement
Go to step 1If your iPhone 14 Plus screen is cracked, not responding to touch, or not showing a picture when your phone is powered on, use this guide to restore your iPhone to working order with a new screen, a.k.a. display assembly.
This guide was created using the A2886 (international) model. If you're fixing a different iPhone 14 Plus model, there may be some visual discrepancies, but the procedure should be the same.
Note: On iOS 17.6 and earlier, True Tone and auto brightness functionality is disabled after a screen replacement, even when using an original Apple screen. Face ID is also disabled, unless the iPhone is running iOS 15.2 or newer. On iOS 18 and newer, you can calibrate your new screen using Apple's Repair Assistant to restore True Tone functionality on genuine screens purchased from Apple.
You’ll need replacement adhesive to reattach the screen when reassembling the device. Your device will function normally, but will most likely lose its IP (Ingress Protection) rating.
For wholesale purchases,please contact WhatsApp:+86-18923771260 email: fengbowei3318@163.com
-
-
Power off your iPhone before beginning disassembly.
-
Remove the two 6.8 mm-long pentalobe P2 screws at the bottom edge of the iPhone.
-
-
-
Measure 3 mm from the tip and mark the opening pick with a permanent marker.
-
-
-
Lay overlapping strips of clear packing tape over the iPhone's screen until the whole face is covered.
-
If you can't get the suction cup to stick in the next few steps, fold a strong piece of tape (such as duct tape) into a handle and lift the screen with that instead.
-
-
-
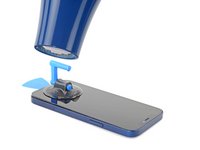
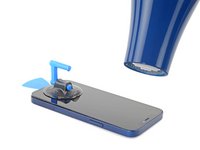
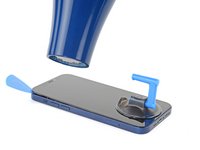
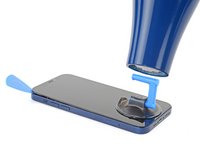
Use a hair dryer or a heat gun to heat the bottom edge of the iPhone for 90 seconds or until the screen is slightly too hot to touch.
-
-
-
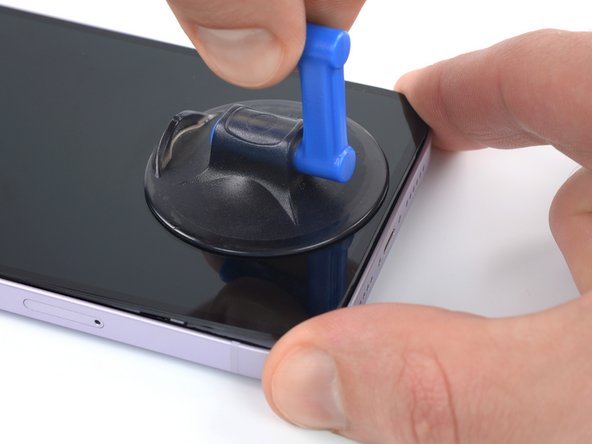
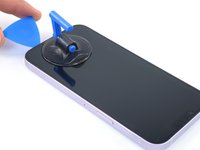
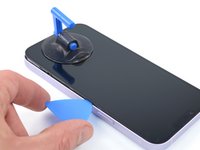
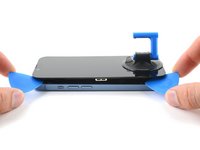
Apply a suction handle to the bottom edge of the phone, while avoiding the very edge of the glass.
-
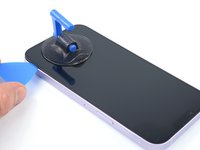
Pull up on the suction cup with firm, constant pressure to create a slight gap between the screen and the frame.
-
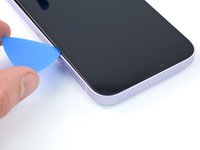
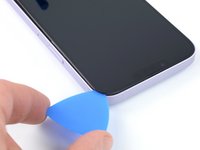
Insert an opening pick into the gap under the screen's plastic bezel.
-
-
-
Use a hair dryer to heat the right edge of the iPhone (the edge with the power button) for 90 seconds or until the screen is slightly too hot to touch.
-
-
-
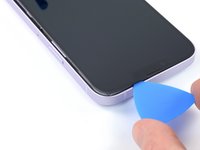
Slide the opening pick around the bottom right corner of the iPhone to separate its adhesive.
-
Continue sliding up the right edge of the iPhone until you reach the top right corner.
-
Leave the pick in the top right corner before continuing.
-
-
-
Use a hair dryer to heat the top edge of the iPhone for 90 seconds or until the screen is slightly too hot to touch.
-
-
-
Slide the opening pick around the top right corner of the iPhone to separate the top adhesive.
-
Leave the pick in the top left corner before continuing.
-
-
-
Use a hair dryer to heat the left edge of the iPhone for 90 seconds or until the screen is slightly too hot to touch.
-
-
-
-
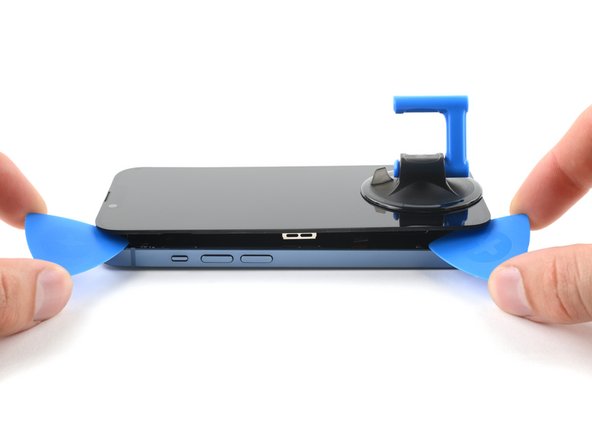
Insert a second opening pick in the bottom left corner of the iPhone.
-
Twist both picks simultaneously until the left edge clips release.
-
-
-
Remove your suction handle from the screen.
-
Rotate your iPhone so the right edge faces you.
-
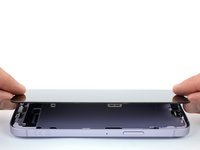
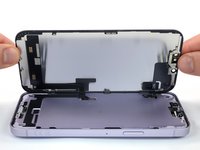
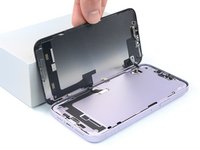
Open your iPhone by swinging the screen up from the right side, like the front cover of a book.
-
Lean the screen against something to keep it propped up while you're working on the phone.
-
-
-
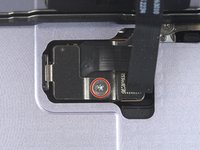
Use a Y000 screwdriver to remove the the 0.8 mm-long screw securing the display connector bracket.
-
-
-
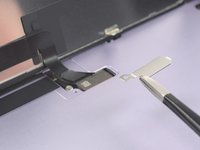
Grasp the screw hole end of the connector bracket with a pair of tweezers.
-
Lift the the bracket slightly to loosen the latch on the other edge.
-
Remove the display connector bracket.
-
-
-
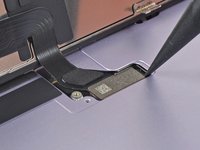
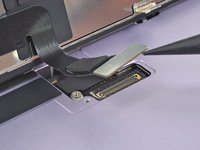
Use the pointed end of a spudger to disconnect the display cable by prying the connector straight up from its socket.
-
-
-
Use a Y000 screwdriver to remove the 1 mm-long screw securing the front sensor connector bracket.
-
-
-
Grasp the screw hole end of the connector bracket with a pair of tweezers.
-
Lift the the bracket slightly to loosen the latch on the other edge.
-
Remove the front sensor connector bracket.
-
-
-
Use the pointed end of a spudger to disconnect the front sensor cable by prying the connector straight up from its socket.
-
-
-
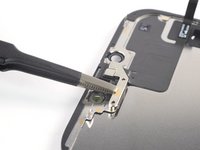
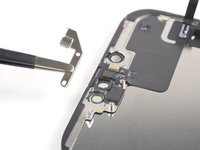
Use a Y000 screwdriver to remove the two 1.4 mm-long screws securing the sensor assembly bracket.
-
-
-
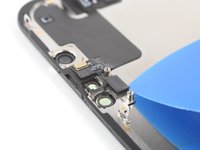
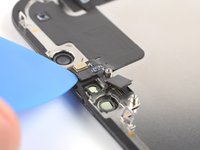
Insert an opening pick between the ambient light sensor and its recess on the screen.
-
Pry up with the pick to separate the ambient light sensor from the screen.
-
-
-
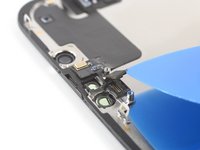
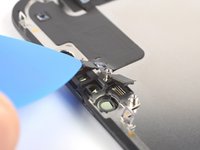
Insert an opening pick between the proximity sensor and its recess on the screen.
-
Pry up with the pick to separate the proximity sensor from the screen.
-
-
-
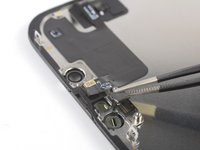
Use tweezers, or your fingers, to move the proximity sensor cable away from the screen.
-
-
-
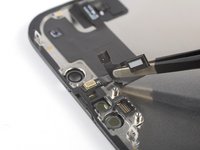
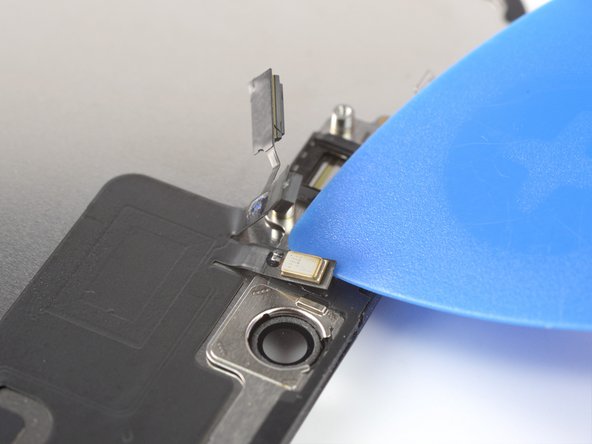
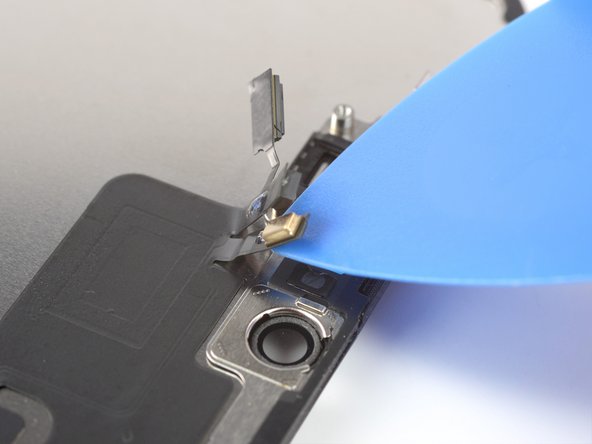
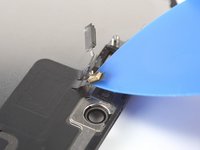
Insert an opening pick under the microphone cable, close to the microphone (the metal rectangle).
-
Slide the opening pick around the perimeter of the microphone to separate its adhesive.
-
-
-
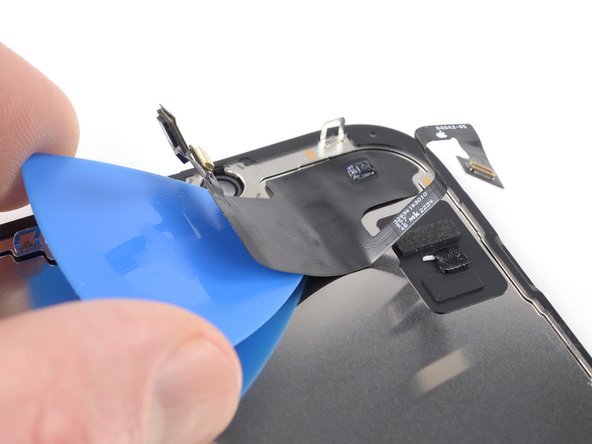
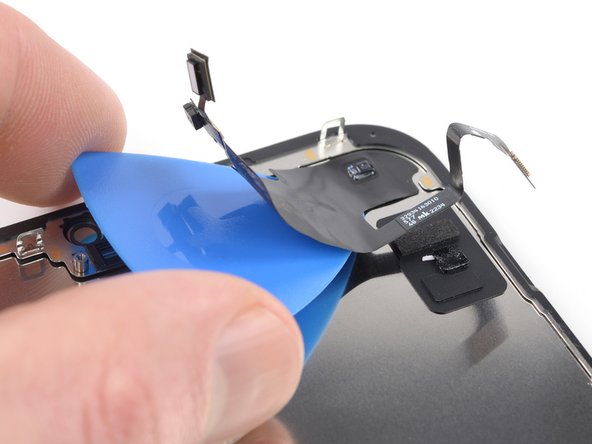
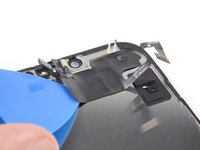
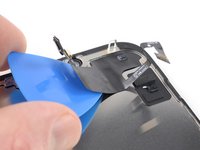
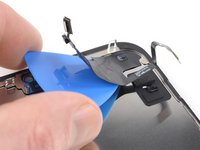
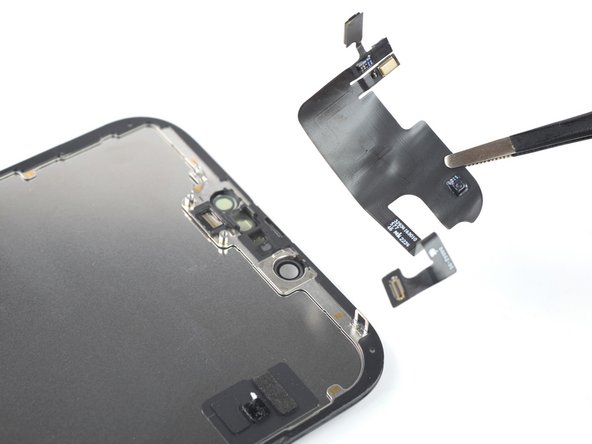
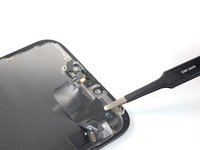
Insert an opening pick under the left side of the front sensor assembly.
-
Slide the pick under the assembly to separate it from the frame.
-


